
Our journey finally comes to an end and with this final post, you will be fully ready to make your own sushi! It has been a long way and we are sure that by now you have all the tools and ingredients to start this delicious endeavor. So, let’s begin with one concrete and basic recipe – don’t worry, we’ll guide you step by step. First off we have to look into the preparation of the sushi rice.
 First, Let’s Cook Some Rice
The basis of every good sushi is rice cooked the right way. Sushi rice has to be thoroughly cleaned before cooking it. Rinse it with cold water to remove any remaining rice bran or accumulated powder. Once you are rinsing the rice you will notice that the water comes out cloudy, repeat the process until it gets clear. If it is not done your rice will come out way too sticky and smelly. The following recipe will provide enough rice to make rolls for up to four diners.
Rice
3 cups sushi rice (before cooking)
3 ¼ cups water
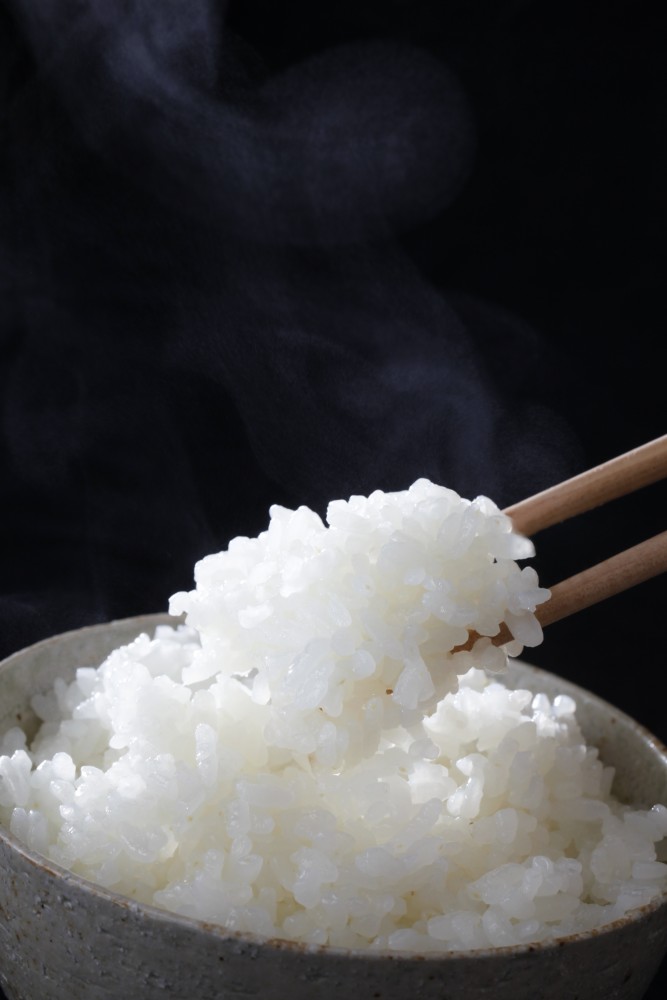
Add to the “rice-maker” and set the time to begin cooking.
When rice is cooked, prepare the sushi rice vinegar mix. This is what gives sushi rice its distinctive taste.
Rice vinegar mixture
1/3 cup rice vinegar
3 tbsp sugar
Take the sugar and the rice vinegar and cook it on low heat until the sugar dissolves, then let it cool down. While your rice is still hot, move it to a large wooden bowl. Start sprinkling the rice vinegar mixture in small amounts in vertical and horizontal motions. This will ensure the correct distribution. Always avoid pouring the vinegar since the rice won’t be properly coated and it will clump up. By the time you are done applying the liquid, your rice should be cooler but not cold. Hot rice sushi will give you problems when assembling the rolls. Once it cools down, it should be shiny and sticky and ready for use. Avoid refrigerating sushi rice since it hardens up.
The Rest of The Ingredients
Your vegetables should be sliced a thinly as possible. You can actually use a slicer for this and afterward arrange them orderly since you will be picking them one at a time. Regarding the fish, your safest bet is to use tuna or salmon which are easy to work with. A rectangular cut is most common and is usable on all fish. Hold the fish on the bias and start with the heel of the knife.
Roll it!
 First off grab a bowl and put some water with vinegar in it. This will avoid the rice sticking to your hand which is one of the biggest problem rookies encounter. Cover your bamboo mat with plastic wrap to prevent the rice from sticking to it. Position a half sheet of Nori shiny side down on your bamboo mat. Cover bottom three-quarters of Nori sheet with a thin layer of rice, leaving the top quarter of the Nori sheet empty. Then proceed to make a groove all the way through the length of the rice. Set your vegetables and fish in the groove on top of rice on the bottom third of the Nori sheet. Start rolling your sushi roll by putting the tips of the four fingers of each hand on top of sushi ingredients to hold them in place. Then keep both thumbs on the back of the bamboo rolling mat closest to you. Push the mat forward until the mat is completely around the sushi roll and until the top and bottom edges of the Nori meet. Take your fingers out and roll away although remember to be gentle and use the mat to give the roll it’s proper form.
And You Are Almost There!
Once your rolls are ready, let it sit for a couple of minutes in order for it to fully stick together. The correct way to cut the roll is the following: Cut it in half, then set both halves one under the other and cut them into 3 parts. You should end up with six sushi morsels.
Practice makes perfect and that is exactly what you need to become a master at preparing Sushi!
In the meantime, if you wish to enjoy the taste of authentic Japanese Sushi, you are welcomed at Sakura Hibachi & Sushi in Littleton!